rev: 1.5 updated: 10/09/2014
SUMMARY
- This article is the continuation of Introduction to Distributed Network Rendering part 1 (DNR).
- This article discuss about the software and hardware related to DNR or VrayDR in general.
- The DNR scope demonstrated in this article is limited to 2 to 3 units but able to expand to maximum of 10 units of computer based on the network license policy implemented by the software creator. A reasonable scale for SOHO and small studio environment.
- This article specifically refers to Vray for Sketchup application rendering scheme under Windows environment.
- The arrangement of this article is as follows: Introduction to the application and rendering engines, discuss about the network policy, the setup and systems, functions of each system, cost breakdown, photos, some advise and opinions.
1.0 SOFTWARE: 3D APPLICATION AND RENDERING ENGINES Before we decide to apply DNR to our production pipeline, it is advisable to review with the existing software if such feature available. In this case study, Vray for Sketchup PC or Mac already packed with DNR capabilities since version 1.5. I have been teaching Vray for Sketchup since 1.5 few years back and didn’t really talk about it during the class. Surprisingly, no one asked me about this topic neither and until now nobody has raise this question as well. I guess most of us still struggle with lighting up a scene or perhaps most of us don’t even realize such feature exist.
Nevertheless, here we are going to discuss about this topic at length in this article. For those (students) that interested in implementing DNR, can use this articles as guides, decision making, budgeting and avoid unnecessary cost or even alter the setup. Besides than the direct cost involved, there are some indirect cost that may incurred should you need to improve the integrity of the setup as a whole.
What I exhibited or tabled in the section concerning computer components, hardware configurations, brands, price tags and so on is only an example. It is a guideline and logical steps in the decision that based on what required for the scope and budget I have in mind. A simple setup that you can however customize to your needs by sourcing less expensive components should you choose to do so.
1.1 Software specification and site DNR licensing policy
This section we will discuss 3 rendering engines:- Vray for Sketchup
- Blender 3D
- Maxwell render for Sketchup
a) Vray For Sketchup
Chaos Group products are licensed per machine. With one V-Ray for SketchUp license you can run V-Ray GUI and the V-Ray toolset within SketchUp. In addition to rendering on your main machine, you can also use distributed rendering on up to 10 render slaves. (quote from ChoasGroup mentioned in their pricing and upgrade policy)
Other than just a plugin for Sketchup, Vray also available for 3Ds Max, Maya, Modo and even Blender3D now. They have a standalone application version as well. The price is reasonable for commercial version and education edition that has the same functionalities but only for education bodies. You can check with the Malaysian local dealers. For those that curious what they have in their product lines click here.
b) Blender 3D
About Blender Network Rendering (NetRender)
c) Maxwell render for Sketchup
 Maxwell render is other amazing rendering engine and quite easy to use. It is available as a Sketchup plugin and operates with in Sketchup workspace. The functions are very comprehensive in their standalone application called Maxwell Render Suite but the plugin version for sketchup is not so. The superiority of the rendering engine and the end result is wonderful (comparable to Vray) however the policy of the network rendering is very expensive and is not so suitable for SOHO. This is only my opinion. However, The single license is very affordable and has a very attractive price tag for the learning edition. If you are curious about the pricing check out this link (refers to their products and network pricing and policy).
There are tons of other rendering engines out there where it is beyond the scope of this article. Suffice to say that these are the plugins and application that you should consider for your small scale rendering farm if you want to give it a try or move to the next level.
2.0 MODELING SOFTWARE
 As mentioned earlier the main software discuss in this article is Sketchup for the modeling and Vray as the rendering engine (plugin). Sketchup is superior for its lightweight and trust worthy CAD modeling feature, by itself and extensible through add-on with some other plugins (free and commercial). CAD or Computer Aided Design application is different than 3D applications for computer artists. The way you create 3D objects in Sketchup is very fluid in terms of dimensioning and modifying geometries. The PUSH/PULL Technology (U.S. Patent 6,628,279) is perfect for creating architecture models or geometries in the form of blocks. To create organic forms and sculpturing such as landscapes you will need to have plugins to improve the workflow. We can sit down and discuss the Pros and Cons of sketchup with other 3D applications for graphics or CAD alike, but let us be blunt, there is no one single solution can satisfy everyone or their needs. Because it is free (Sketchup Make) and allow us to create something without adding extra cost to our investment that makes the application worthwhile to think about.
Sketchup has some rendering capabilities but not as close as those of rendering found in 3Ds Max, Maya or Blender3D. So this is where other photorealistic rendering engine comes in to fill in the blank. Until now Sketchup is still using 32bit architecture and to my understanding from some expert such as (http://www.thomthom.net/) a brilliant coder and creator of many useful plugins for sketchup stating that, any plugins work within Sketchup are limited to the 32bit architecture of Sketchup. I read this in one for the forums where there was one topic discussed about this. There is no 64bit Vray for Sketchup so far but who knows one dayTrimble might decide to move Sketchup to 64bit architecture. Accept for Vray Distributed Network Rendering spawner comes in 32 and 64 bit as mentioned in part 1.
So at a glance, this pretty much summed up the 3D modeling and Distributed Network Rendering application in general. We have made our choices and fix to this solution for now and move on with the hardware.
3.0 HARDWARE SPECIFICATIONS
What we about to commit or budget for the hardware setup depends on the goal, functions and size of our business. For example in my case I like to conduct research and develop courses from multi-disciplinary approach would require some serious computing power. A workstation (that used to cost about 20K 10 years ago e.g SGI ), few units of rendering nodes, simple NAS and some networking stuffs.GOAL
In general I would like this setup to be able to use Distributed Network Rendering or alike, research on the capabilities and development on other products, faster result on setting presets libraries for course works and able to use these machines for training when they are not in use for rendering job.
3.1 The workstation
INTRODUCTION: The term workstation has been loosely used nowadays. In fact, between the 80s, 90s and now a 3D computer gaming machine used by a 15 years old kid is as powerful as those workstations back then used by scientists or perhaps even more powerful. So it is quite blurry now to mention the term. Nevertheless we would want this unit to be more equipped than the rest. More Memory, Better Motherboard, fast CPU, faster video card, high wattage power supply and so on. This is the computer that we going to work with most of the time and definitely we need to spend a little bit more.Usually I would prefer to work on a machine or tool(s) that I feel comfortable with. So these are the components and configuration I need and fits in nicely to my budget.
EFFICIENCY: Able to handle complex scene with reasonable speed and able to handle mid-size project efficiently. (This is debatable, and would require some personal working experience to justify the definition). Properly the best way to benchmark the computer configuration you currently have against a higher specifications computer. Sometimes even with the same configuration but with different class of RAM, Video card and Hard disk specifications would make lots of difference. You need to experience it yourself before going further.
FUNCTIONS: The main function of this unit is able to work with 3D modeling, rendering and video compositing. (Video editing and composition is entirely 2 different area of expertise). A good example of video compositing is like adding special effects to a scene like explosion, smoke, or the famous Jedi Light Saber sword in Starwars etc. Usually the clips only consist of few seconds to few minutes sequences. You need a different set of skills and talent for this.
OBJECTIVE: This RIG is for production not for gaming. Preferably don’t use any OC-ready components unless you couldn’t get the spec or model you need.
SCALABILITY: The setup must be able to meet the growing amount of workload in a capable manner or able to enlarged to accommodate the growth. This applies to the Rendering network capability and licensing policy we choose.
COST: Middle range category and moderate and with in your capability.
OTHER CONSIDERATIONS (INDIRECT COST): Factors that directly or indirectly influence the performance, stability or the lifespan of the equipment.
- Stability of electrical power source and grounding that used for the equipment.
- Power stabilizer.
- If possible install a noise filter or noise reduction unit. (very expensive item)
- Lighting arrestor (the good ones are expensive)
Schedule 1: Workstation Cost Breakdown
Component
|
Brand and Specification
|
Price
|
| 1. The CPU | Intel i7 3.5Mhz socket 1150 (4th G) | RM 990.00 |
| 2. Motherboard | GIGABYTE Z87X-UD3H | RM 870.00 |
| 3. Computer Memory | Corsair Vengeance DDR3 8GB X4 total 32GB | RM 1200.00 |
| 4. Hard disk | Western Digital 500 GB WD Blue (Mechanical) | RM 198.00 |
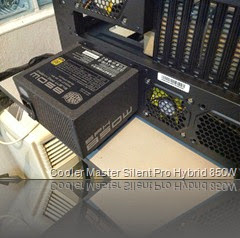
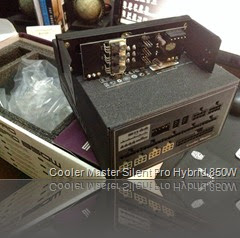
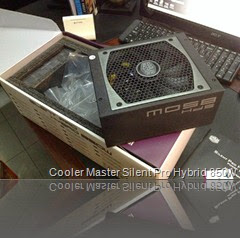
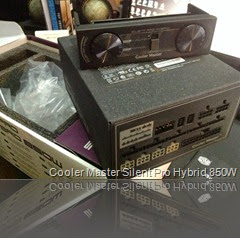
| 5. Power Supply (PSU) | Cooler Master Silent Pro Hybrid 850W | RM 800.00 |
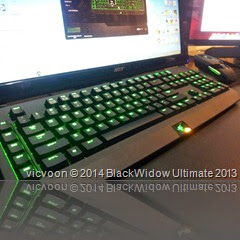
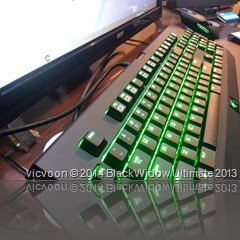
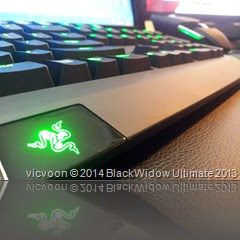
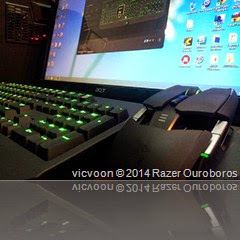
| 6. Good Keyboard | Razer Black Widow Ultimate 2013 | RM 449.00 |
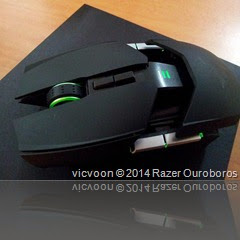
| 7. Good Mouse | Razer Ouroboros | RM 449.00 |
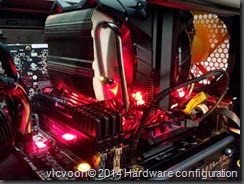
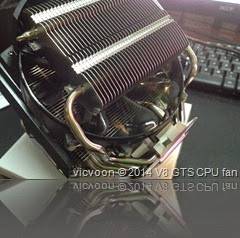
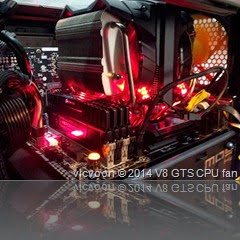
| 8. Huge CPU Fan cooler | Cooler Master V8 GTS | RM 275.00 |
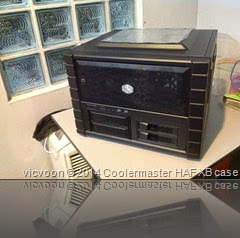
| 9. Simple Computer case | HAF XB (windowed top panel version) | RM 250.00 |
| 10. Additional case fans | ABC brand mixed 140mm,120mm and 80mm | RM 150.00 |
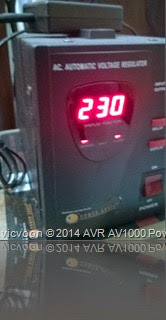
| 11. Power Stabilizer | AVR 1000AV | RM 300.00 |
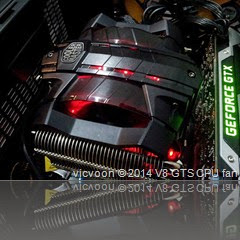
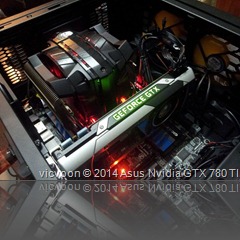
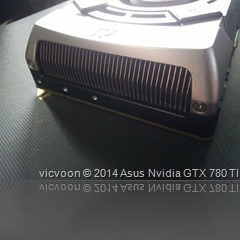
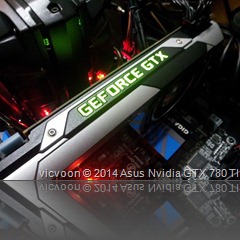
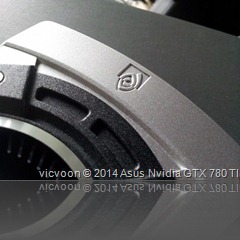
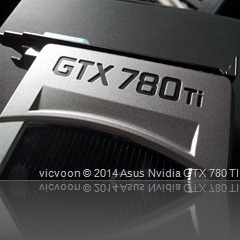
| 12. Video Card | Asus Nvidia GTX 780 ti (reference card) | RM 2,750.00 |
| 13. Computer Monitor | Dell S2740L 68.6cm (27") Monitor with LED | RM 1,100.00 |
| Total amount: | RM 9,781.00 | |
OPTIONAL (INDIRECT COST)
| 14. Electrical power supply | Rewired and placed additional Distribution Box from incoming line direct to computer room | RM X,XXX.XX |
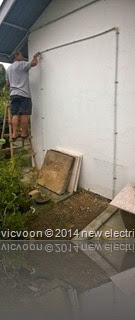
| 15. Grounding | Installing new grounding rods (14 ft) in deep which isolate from the main building. | RM X,XX.XX |
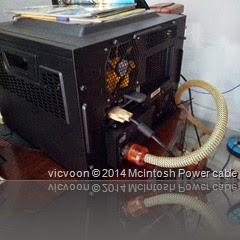
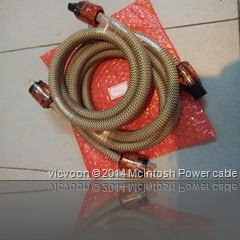
| 16. Computer Power Cables | Custom OEM Mcintosh high grade cables | RM XXX.XX |
| 17. Misc | Others | RM XXX.XX |
| 18. DVD ROM | Any brand | RM XXX.XX |
| 19. Low cost NAS | (Network- attached Storage) D-link 323 4 Terabytes capacity | RM XXX.XX |
| 20. Noise Filter or | Noise reduction Unit. | RM XXXX.XX |
| 21. 1000base Switch | TP–Link (no of ports depending on your requirement) | RM XXX.XX |
| 22. CAT 6 Cables | Depends on the length and number of units of computer of the rendering farm. | RM XXX.XX |
Workstation Photos1:

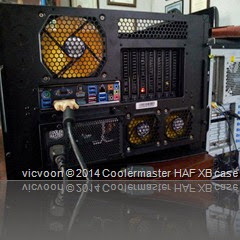
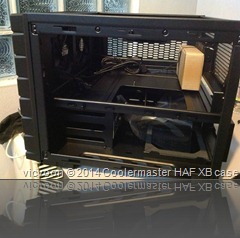
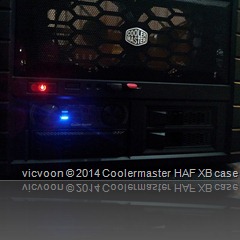
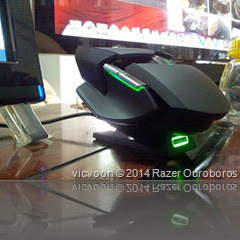
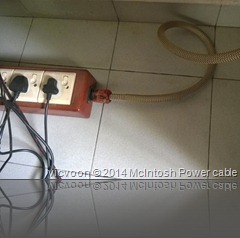
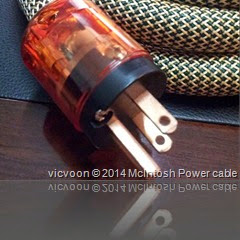
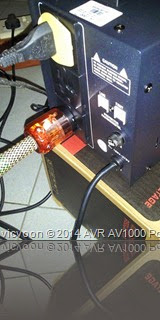
The Power Cord

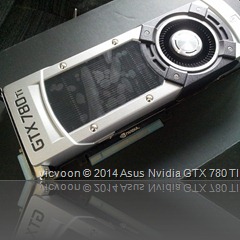
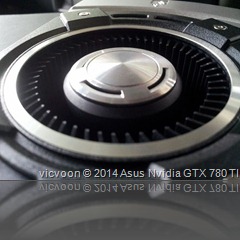
The video Card
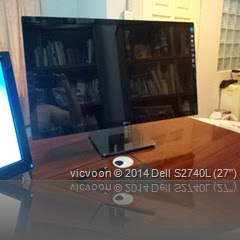
The Monitor and the Power stabliser

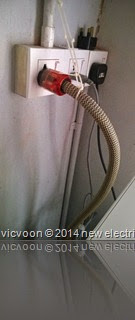
Installation of new distribution box, grounding and other stuffs.




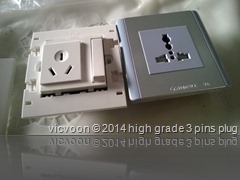
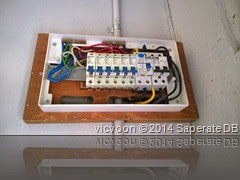

3.1.2 Choice of Components for the workstation:
Hard Disk and Power Supply (PSU): Require a workstation that is solid in performance not only the CPU power but the VGA as well that fits the budget. SSD wasn’t included in this unit because is expensive and definitely require more than just 1 or 2 software installed. SSD 120GB is simply just not enough. The power supply is extremely import in this particular rig because of the amount of RAM and most of all the Video Card. Oversupply is better than undersupply. As suggested by many, it only takes 250 watt power to fire up the GTX 780 TI with new architecture chipset. I Agree but that is the baseline what if we add all those components, and run the rendering and animation at full swing? I think we need higher wattage than that. Just a precaution.
Input Devices: Mechanical Keyboard and high resolution mouse included in this unit because it is reliable, accurate and to void stress. So using these high grade input devices specifically designed for gamers should last a little bit longer (we’ll see). This is optional and self preference.
The computer casing: Coolermaster Haf XB is interesting because of the shape, materials, the size and it looks ugly enough to have that uniqueness. It looks like a refrigerator or a wine chiller in fact. They called this the LAN box that can be converter to an benchmark casing (for testing components). Plenty of aeration and easy to work with, should you need to upgrade or put something else inside the case.
The Video Card (optional): This has nothing to do with the DNR and definitely we don’t need this particular model to use for Sketchup modeling. However, the idea was the number of CUDA cores in this particular model that I need and intended to use for something else, a different projects and development. You have the option to choose lower models like GTX 750, GTX 760 and GTX 770 which is much cheaper and can be equally as productive.
Computer Power Cable (optional): OEM McIntosh Power Cable custom made at the length of 1.5M connected from power stabilizer to the workstation and a 3M cable from the electrical power source to the self-made plugs extension were used in this build. This type of cable is a high grade cable and able to reduced noise frequency that occurs in the electricity. It benefits the systems in long run. I have no intention to debate or encourage you to use this, since most of us don’t think it is necessary. However, ask around and do some digging for some information about this.
3.1.3 About Over Clock (OC)
In my opinion there is no point to use Over Clock (OC) components because we are not performing any stress test on the hardware or pushing the hardware to its limit. Our goal is to build a hardware that suitable for our working requirement and workloads. In fact I don’t encourage you to use any OC components or OC the hardware unless you know what you are doing. These machines are for production and suppose to generate revenues and definitely we are not going to shorten the lifespan. Of cause if you have more money to spend you can instead get higher specifications or upgrade your system later. But from business point of view, you need to take into consideration of your Return on Investment (ROI). To me, it is an investment in knowledge, research and at the same time able to handle reasonable project size should I desire to do so.3.1.4 The Rendernode or node
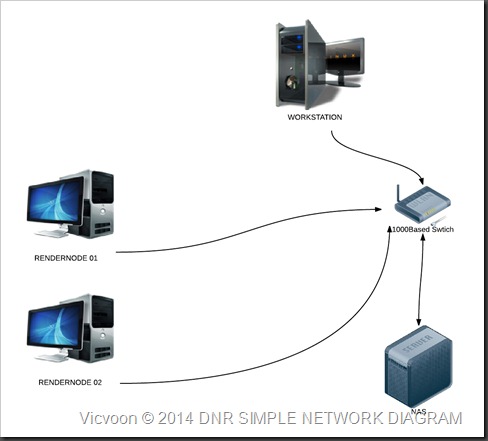
Rendernode is just a name I called, it sounds cool. However many refer them as slaves or something else. This unit basically just sit there and do nothing (in my case) until you render your image in your workstation (provided that you have activated the Distribution Network Rendering command). Once the workstation sends the commands to the DNR spawner (which installed in the rendernode) it will start to render the image in your workstation.The total units require is 2 therefore if 1 unit of computer render using 4 cores as based plus 4 cores in Hyper-Threading mode = 8 packets (cores) on a scene than 8 x 3 (computers) = 24 packets rendering capability on a single scene. That in fact is quite fast. The rendering speed is subjective and really depends on the complexity of the scene, the composition and materials like reflectivity, transparency, bumps, displacement, number of lights, image resolutions and so on. The assumption here is based on Intel i7 CPU. If you use different CPU other than this, then you should consult and check your CPU specifications. The baseline is the amount of cores you intend to use for your setup.
Schedule 2: Rendernode Cost Breakdown
Component
|
Brand and Specification
|
Price
|
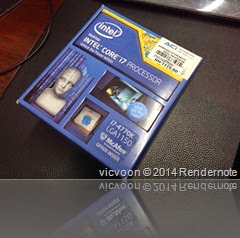
| 1. The CPU | Intel i7 3.6Mhz socket 1150k (4th G) | RM 1190.00 |
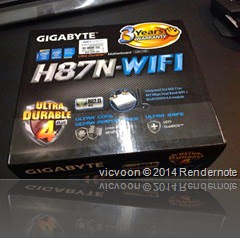
| 2. Motherboard | GIGABYTE H87N-WIFI Mini ITX | RM 450.00 |
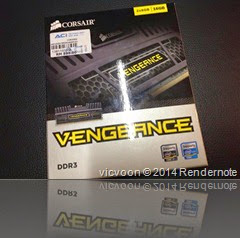
| 3. Computer Memory | Corsair Vengeance DDR3 8GB X2 total 16GB | RM 600.00 |
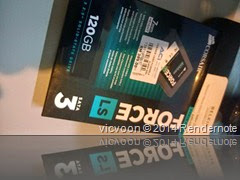
| 4. Hard disk | Corsair FORCE LS 120GB (SSD) | RM 330.00 |
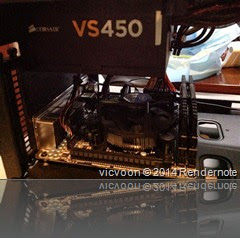
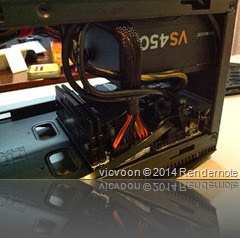
| 5. Power Supply (PSU) | Corsair VS450 450W | RM 180.00 |
| 6. Keyboard | ABC keyboard | RM 25.00 |
| 7. Mouse | Logitech wired Mouse | RM 35.00 |
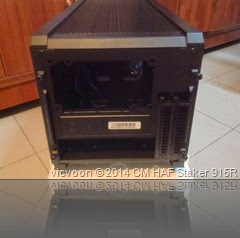
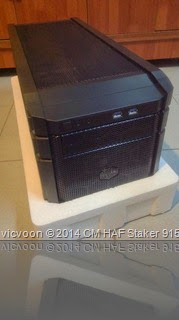
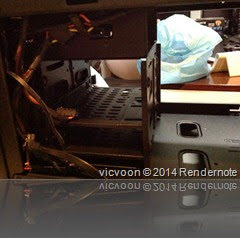
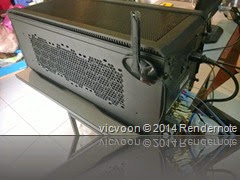
| 8. Simple Computer case | HAF Stacker 915R | RM 225.00 |
| 10. Power Stabilizer | BOSS 800AV capacities | RM 90.00 |
| 11. Computer Monitor | Acer 18” monitor | RM 265.00 |
| Amount per unit: | RM 3,390.00 | |
| Total Amount: | RM 3,390.00 x 2 units | RM 6,780.00 |
The rendernode setup:
Need the same computing power (CPU) what my workstation has.
- Need these nodes to be able to load fast.
- These nodes are not for production purposes but able to provide sufficient computing power for training on specific courses.
- The essentials components should be in reasonable price range.
- Able to upgrade like e.g full length video card add on (referring to the motherboard).
- Need to be small in size, stackable, easy to relocate, able to have full length size VGA card and plenty of aeration.
Rendernote: The Computer Casing
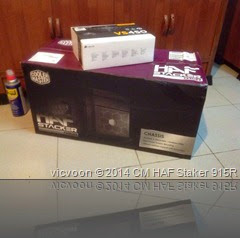
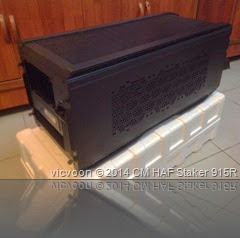
Rendernote: The PSU (Power Supply Unit)
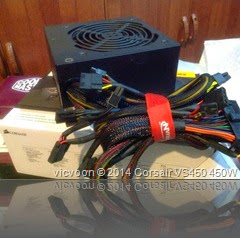

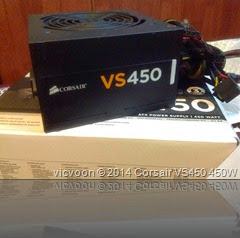
Rendernote: Other parts
Distribution Network Rendering Diagram
3.1.4 Research on your own or consult others
(a) DO
I did the research on certain components and defined the specifications for the type of job I need, from computing power to casing and software requirement. We need to leverage the rendering capabilities, technologies and functions of the software and pair with the hardware setup and configurations. Pairing is important. You can consult experts in the same field. Or you can draw a diagram and the configurations of your setup and send to the company that created the software for opinions and advise. In most cases, you can always seek advise in any forums that related to relevant topics of your interest. There are many experts willing to help you. In the end you still need to define your own goal(s).
Sad to point out that my knowledge in networking is thin. But some general knowledge in networking do require in this case at least you should know some command tricks like pinging an address and assign some simple ip addresses. As far as we know using cables is more stable and faster in speed than using a WIFI system. Tweaking and optimizing the network usually I leave that to the experts or sometimes just post a question in Facebook if you are stuck. The only concern is firing up the DNR functions. The fine-tuning comes in later as part of the process. If networking is not the area of your interest or expertise, then you should consult or hire someone to do it for you.
(b) DON’T
What you should not do is to consult gamers about your system and setup unless you are rigging a gaming machine else, you will end up getting the wrong advise. I am not saying they do not know their stuffs. In fact they know too much and in my opinion some of them should be given the title “Bachelor of Games or Game Machine Rigger” or something. These group of people have dedicated almost half of their lives in gaming that they know inside out of the machines. You need to understand that production and gaming solution is different in the ways it operates, configurations and the usage of the computer functions. Yes some of the systems are similar but the Goal and needs are different. If you are not careful you will end up spending more than what you initially planned or getting the wrong components.
Computer components consist of many grades from commercial to military grades, from low-end, entry level to high-end and so on. Even for a fan in the computer casing has tangible marginal gap between one and another. One good example like a computer motherboard, all of them provide the same functions and perhaps has the same capabilities but why the price gap differs? That you need to ask the experts and do some research on your own too. As mentioned earlier in this article you need to be firm and you need to know when to draw the line.
(c) APPRECIATION
Since we are in the 3D contents creation industry and we need to thank and show our gratitude to computer gamers because of their passion, contributions and enthusiasm have managed to pushed the computer industries to a whole new level for better performance and better solutions and in-turn enable manufacturers to produced and pushed these high-end specifications components to the main stream hence reduction in price greatly.
(d) ASSEMBLY
The mix and match of the computer components mostly recommended and assembled by professionals at ACI Karamunsing, KK because they know best. Other sources are contributed by experts from the electronics engineering background, networking and administration, game designers, hardware engineers, forums, paid subscriptions portal and experts around the world. Frankly, my interest is not in the hardware but rather what the hardware can do for me and how to get the best out of them. Occasionally we need to know what is the development of the technologies around us, particularly the CPU and video card technologies that influence the development and advancement in 3D world.
(f) CONFIGURATION AND SOFTWARE INSTALLATION
Usually I prefer to configure the hardware and install the OS and applications myself then of cause sometimes ask for help. You have the option to hire someone to do it for you if you like. You can search Youtube or Tom’s Hardware to gain some understanding of the topics should you need to do so. Or you can take up a short course (technical course: Computer Repairs and Maintenance) at infotek.edu.my. I would like to stress that configuring the SSD hard disk is very different than setting up a normal mechanical hard disk. It took me sometime to understand and research why and what needed to be disabled and enabled in the BIOS and as well as at the OS level. So if you are not confident enough to perform such task, please consult your technician.
4.0 OVERALL COST BREAKDOWN
Schedule 3: Hardware, Network, OS, Software and Misc. Cost Breakdown
Item
|
Description
|
Sub-total/item
|
Amount
|
| 1.0 Hardware | |||
| 1.1 Workstation | 1 unit | RM 9,781.00 | |
| 1.2 Rendernodes | 2 units | RM 6,780.00 | |
| 1.3 Network devices and cables | Switch and cables | RM 300.00 | |
| RM 16,861.00 | |||
| 2.0 Software | |||
| 2.1.Vray for Sketchup | 1 license for 1 computer | RM 3,000.00 avg. | |
| 2.2 Windows 7 Pro 64 bit (OEM) | @RM 450.00 x 3 | RM 1.350.00 | |
| RM 4350.00 | |||
| 3.0 Misc. | |||
| 3.1 Rewiring, new distribution box and grounding | Depending on the distance and depth of the copper rods requirement. | RM 1.600.00 | |
| 3.2 Power Cables | Mcintosh cables | RM 800.00 | |
| RM 2,400.00 | |||
| Total Amount: | RM 23,611.00 |
5.0 CONCLUSION
- Set a goal.
- Study the capabilities and functions of the software and the network rendering license policy carefully. Consult with the software creator technical or sales team.
- Conduct your own research before approach the hardware vendors if it checks out with your findings or vice-versa. Compare your notes and theirs if needed.
- Make sure your setup is flexible for scalability or able to expansion.
- You need to accept the fact that there is no resell values on these items.
- You need to know that this is an investment and not a toy.
- Everything has a lifespan and product life-cycle. Nothing last forever and there is no future proof in computer technology.
- Plan the time frame carefully to the complete the setup and ready for deployment. For this size, 6 months is reasonable if you run on a tight budget. We would like to avoid price fluctuations of the components and obsolete technologies. So aim something higher but not too far ahead. If you do, you can never get things done.
- Do not carry out all the tasks yourself, the idea is to implement not to build the system. To certain extend you might be tempted to decorate your units with the look and feel you want. If it doesn't help on the essential speed, stop it. No point of adding extra cost. This doesn't mean get the lowest price tag. The price standards in computer industries is always at par with the quality they offer.
- Price tag of the component is differs greatly ranging from low-end, entry level to high-end. So keep them moderate.
- Protect your investment from technical issues like inconsistency of electrical power supply and undersized wires or defected wires, insufficient grounding/earthing and unstable power source.
- If possible, consider having your equipment insured against burglary and fire.
- Lightning is a common cause of damaging your equipment. Best solution is to unplug or disconnect the main electrical power supply when you not in the premises or go for a long holiday. Lightning arrestor for this kind of setup will cost a fortune, perhaps you should check with your electrician to get more advise on this issue. To my knowledge and suggestions through friends that Belkin has a good product on this.
Remark:
The cost of this setup is nothing if it helps to generate revenues and fulfill the needs. 20K is nothing compare to those who passionate in their hobbies like leisure, dining, cars, audiophile systems, gaming machines etc. But is normal for people to criticize and saying that you are insane spending all this money on computers which obsolete in 6 months. I know there are some people spent on cars decorations that has nothing to do with safety that cost more than 50k and people buying cars that cost more than their houses. Then again who are to judge others? So in the end only you know what is best for you and think wisely on setting your budget for the scale you need.
Through this exercise, you will learn tons of things not only about DNR but the hardware as well. Never stop learning….and good luck.


